-
- Provider
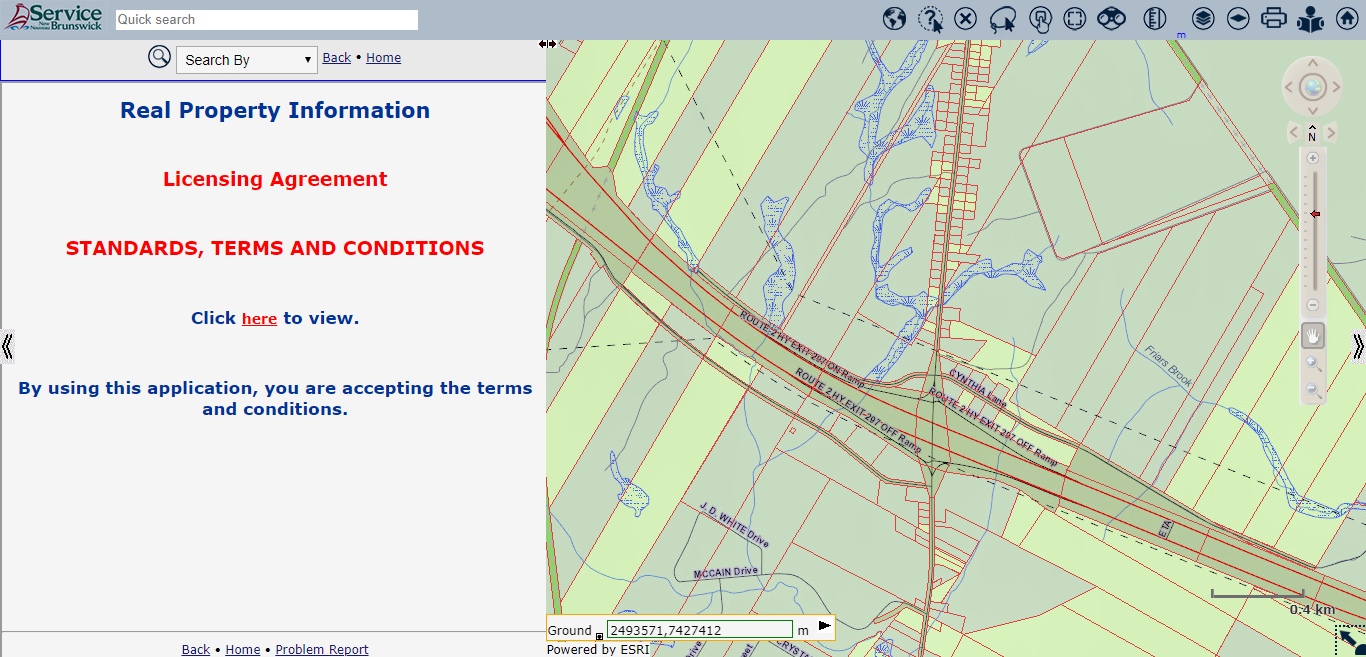
- The Real Property Information Browser is provided and developed by SNB.
- Access and use of this tool is governed by the standard terms and conditions outlined in the Licensing Agreement
- Purpose
- The Real Property Information Browser allows users to interactively search for properties, view graphical information from various provincial data sources, generate parcel information reports and print maps in several sizes and scales.
- Basic Functions
- Search by: Users can search for property information using PID, PAN, Name/Location, Document, Plan, Place Name and Coordinates. The Search by tools are described in more details below.
- Map View and Graphical Tools: The Map View includes attributes such as roads, cities, and hydrography. The Graphical Tools include Navigation and Selection tools to narrow down, or expand the focus of the map, to desired area or parcel. The interactive Map View refreshes when searching properties. The tools description follows in more details below.
- Measurements: Users can take approximate measurements of parcels in the Map View. The measurements displayed in the Map View are azimuths and distances between points, as well as the area and the perimeter of the polygon defined by the user.
- Reports: Reports are available in PDF format. When the user clicks to print a report, it generally opens in a viewer. The user can choose to save, download, request or print reports on their printer. The PDF reports available are PID Report, PAN Report, Map Report.
- Provider
- The Navigation Bar on the right side of the Map View includes Zoom, Move and Scale bar tools useful to quickly change the display of the Map View.
- The Hand Tool
 is active on access. Click on the map and hold the mouse button to drag the map at the desired position. .
 - The top of the Navigation bar
 includes Left/Right/Up/Down Navigators and Overview tools.
- Click the Overview tool
 to redraw the New Brunswick map overview
 - Click the navigator’s arrows <> to move the Map View in the direction selected: the left arrow moves the map to the left, the right arrow moves the map to the right, and so on for up and down arrows.
- Click the Overview tool
- Click the Zoom in or the Zoom out Tools above and below the Scale bar to Zoom the Map View
- Click the plus + tool
 to instantly Zoom in the Map View.
 - Click the minus - tool
 to instantly Zoom out the Map View.
- Click the plus + tool
- Click the Zoom in box or Zoom out box tools,
 below the Hand tool, to define a bounding box on the Map View.
- When zooming in with the plus
 Tool box, the bounded area fills the Map View
 - When zooming out with the minus
 Tool box, the Map View retracts out of the bounded area.
- When zooming in with the plus
- Click the scale Red slider anywhere on the scale bar to set the map scale. The centre point of the map stays the same while the map scale changes per the setting chosen.
- Click the Previous or Next Navigators
 on each side of the North Arrow to redraw previously viewed or next maps. These tools are active when the user has drawn at lease one, Previous and/or, Next map.
 - The Browser features two window panes: The Map View (on the right side) and the Attribute Data (on the left side). On entry, both window panes occupy the same amount of space.
- There are three tools available to change the size of window panes.
- Click the collapse Left Arrow
 , located on the left side of the screen, to hide the Attribute data window pane. In this case the Map View fills the entire display area.
 - Click the collapse Right Arrow
 , located on the right side of the screen, to hide the Map View window pane. In this case the Attribute data fills the display area.
 - The third tool available is a slider tool
 anchored at the top of the window panes division line. Click on the slider with the left mouse button, hold and drag the slider left and right to resize the amount of space for each pane.
 - The Whose is it? tool activates at the scale 1:16000 or greater, when the property lines become visible.
- Use one of the Zoom Tools to change the scale and activate the tool on the tool bar.
- Click Whose is it? Tool and select a property in the Map View to open the pop-up window and display the following Parcel information:
- Owner(s)
- Location
- Land Titles Date
- Land Gazette
- A single pop-up window can display at any given time.
- The Clear Selection tool is available at all scales.
- Click Clear Selection tool to remove selected parcel or parcels in the Map View and reset the Attribute Data window to the "Search by PID/PAN".
- The Lasso Select tool activates at the scale 1:16000 or greater, when the property lines become visible.
- Use one of the Zoom Tools to change the scale and activate the tool on the tool bar.
- Click Lasso Select tool to define a polygon enclosing multiple adjoining parcels at once instead of individually selecting parcels.
- Click anywhere on the map to begin outlining the Lasso, each click spans lines between points. Double click to connect the last point to the first via a straight line.
- The parcels that intersect the polygon are auto-selected.
- Click the Print List hyperlink on the Query Results screen footer to generate a PDF file of the screen records list.
- Up to 200 records at a time may be included on the list. You can print or download the PDF file.
- The Point Select tool activates at the scale 1:16000 or greater, when the property lines become visible.
- Use one of the Zoom Tools to change the scale and activate the tool on the tool bar.
- Click Point Select tool to select one or more parcels in the Map View.
- Click on the first parcel in the Map, then click the Keyboard (Ctrl) control key to continue selecting more parcels.
- When selecting a single parcel, the property lines highlight in the Map View and the Parcel Information associated with the selected parcel displays in the Attribute Pane.
- When selecting multiple parcels, the property lines of all the parcels highlight in the Map View and the Selected PID Summary displays all the PIDs in the Attribute Data Window Pane.
- Click a PID in the list to open the Parcel Information form.
- The top part of Parcel Information form displays the general information of the parcel.
- The lower part displays the registered information available for the property. The information displays in sections per each type. Click the top plus + or minus - tools available to expand or collapse all the sections at once. Each section of the Parcel Information also has plus + or minus - tools available to expand or collapse the data of the specific section.
- The Center Selection tool zooms and centers selected parcel or parcels within the Map View.
- The Find Neighbours tool is available when a single parcel is selected.
- Click Find Neighbours to select all parcels that share a property line with the selected parcel.
- The property lines of all the parcels highlight in the Map View and the Selected PID Summary displays all the PIDs found in the Attribute Data window.
- Click any PID “Go to” icon, located to the right in the PID Summary, to highlight the property in the Map View.
- Click the Measurements tool to switch the mouse cursor into the “Angle ruler”.

- To start measuring, click the mouse left button on the start point desired, then continue clinking each point on the map to delineate the desired polygon area. Double click to close the polygon.
- The azimuth and cumulative distance between points selected display in the Map View for each line. The final calculations, polygon area and perimeter, display inside the polygon.
- To measure a single line, click the mouse left button on the start point desired, hover over the end point to view measurements, or double click on the end point to complete the operation.
- Click on the mouse left button or on Measurements tool icon to remove the polygon lines and calculations in the Map View.
- The Unit indicator tool, found to the right of the Measurements tool icon, defaults to meters
- The tool allows the user to select a measurement unit in the pre-set list.
- Click on the tool to select one of the available measurement units: Meters, Feet, Kilometers, Miles, or Chains.
- Click the Layers tool to toggle on or off specific layers or groups of layers available in the list.
- To turn on a single layer, select its corresponding checkbox.
- Likewise, to turn off a layer, unselect its corresponding checkbox.
- To turn on a group of layers, select the corresponding group checkbox. All layers in the group will become selected.
- Likewise, to turn off a group of layers, unselect the corresponding group checkbox. All layers in the group will become unselected.
- Note that some layers are scale dependent. When zooming the Map View, in and out, selected layer(s) may or may not display depending on the map scale setting.
- Click the Basemaps tool to select one of the Basemaps available.
- Topography is the default on entry. It displays roads, waterbodies, and other topographic features.
- Only one Basemap can display at a time.
- The Print Map tool activates at the scale 1:16000 or greater, when the property lines become visible.
- Use one of the Zoom Tools to change the scale and activate the tool on the tool bar.
- The Print Map tool allows the user to open the Print Map viewer.
- Select the desired parcel or parcels in the Map View before accessing the Print Map viewer.
- Click the Print Map tool to open the Print Map viewer.
- The Map viewer can be move around the window panes display area.
- The Print Map viewer includes a Scale field with a pick-list, a Report size pick-list, and a Map Title input field to set the Map printout as desired before generating the PDF:
- Type the desired scale in the Scale field or click on the Select Scale drop-down to select a scale value in the menu. The Map viewer instantly adapts and reflects the scale change.
- The Map Title text displays under the PDF map border, on the left side.
- The Report dropdown offers common print size choices.
- Users can also zoom in or zoom out on the page preview by clicking on the plus + and minus - icons on the top right of the preview window.
- The Print Map viewer is useful to zoom into very small parcels or areas lower than 1:1000 that cannot be zoomed to in the Map view.
- Click the PDF button to generate the PDF map when ready to print on the user’s printer.
- Click the Print Map viewer X icon to close the viewer.
- The Quick Search Tool can search the database with keywords, PID, PAN and Civic number.
- To begin a quick search, insert partial data such as the first letters of a street name, or a city name, or a Civic number, or a combination of partial and complete words, each separated by a space.
- For example:
- 100 main street (for 100 Main Street Moncton)
- 100 mai st ha (for 1006 main Street Hampton)
- 100 reg Fredericton (for 1005 Regent Street Fredericton)
- The Record list will populate as the user keys in data, and change, according to the records found matching the inputs.
- The Quick Search field accepts the following input types:
- PID
- PAN
- Civic Number
- Street Name
- Street type
- Place Name
- The system displays the top 10 results per the input type entered.
- For results greater than 10 records, the Additional hyperlink displays for the input type.
- Click the Additional hyperlink to access the corresponding Search by tool and expand the list.
- To Search by PID/PAN; specify the PID or the PAN.
- The PID is a Parcel Identification Number. Each parcel of land in New Brunswick has its unique PID.
- The PAN is a Property Account Number assign to each New Brunswick property tax notice.
- When searching the PID, if multiple PAN(s) are associated to the PID, they all display in the query results and the property lines of all parcels are highlighted in the Map View.
- When searching the PAN, if multiple PID(s) are associated to the PAN, they all display in the query results and the property lines of all parcels are highlighted in the Map View.
- To Search by Name/Location; specify Place Name and Street Name or one of (Last Name, Enterprise Name).
- Place names are selected from a drop-down list: the system will offer suggestions as you type.
- Example: Le% to find individual names beginning with Le - Leger, Leblanc, etc.
- Example: Tr% to find enterprises beginning with Tr - Traders Realty or Tracadie Beach Camping, etc.
- To narrow a wide-ranging search and display less query results, specify more information in the search fields.
- Place names field offers suggestions selectable from the drop-down list as you type.
- For query results returning multiple records, click on the "Go to" binocular icon to display a parcel in the Map View.
- Click the Print List hyperlink on the Query Results screen footer to generate a PDF file of the screen records list.
- Up to 200 records at a time may be included on the list. You can print or download the PDF file.
- To Search by Document; specify a Document or (both the Book and the Page).
- The county and year fields are optional and may be useful to filter results.
- For query results returning multiple records, click on the "Go to" binocular icon to display a parcel in the Map View.
- To Search by Plan; specify a Plan Number or Plan Name.
- The registration date and county fields are optional and may be useful to filter results.
- For query results returning multiple records, click on the "Go to" binocular icon to display a parcel in the Map View.
- Click the Print List hyperlink on the Query Results screen footer to generate a PDF file of the screen records list.
- Up to 200 records at a time may be included on the list. You can print or download the PDF file.
- To Search by Assessment Data; specify the PAN or Assessed Owner.
- The input format for assessed owner is: Surname,Given Name
- The Taxing Authority Code is optional and offers suggestions selectable from the drop-down list as you type.
- For query results returning multiple records, click on the "Go to" binocular icon to display a parcel in the Map View.
- To Search by Place Name; click in the field and start entering a name.
- A drop-down list opens and offers matching suggestions selectable from the drop-down list as you type.
- Click on one of the suggestions to populate the field with the name chosen.
- Click the Find button to generate the query results that matches the criteria.
- Click the place name hyperlink to center the Map View on the location.
- To Search by Coordinates; two choices are available.
- Enter the NB Stereographic Coordinates - NAD83 (CSRS): X-Easting /Y-Northing.
- NB Stereographic Coordinates follows these 7 digits format: X: ####### Y: #######.
- Select the Geodetic Coordinates, Latitude (North)/Longitude (West), from the drop-down boxes.
- Click "Find" to center the Map View on the location.
- The PID Report is accessible via the Parcel Information screen.
- The PID Report is system generated in PDF format and provides the details included in the parcel information form.
- Click the PID Report button to open the Report viewer and print on the user’s printer.
- The PAN Report is accessible via the PAN information screen.
- The PAN report is system generated in PDF format and provides the details included in the PAN information.
- Click the PAN Report button to open the Report viewer and print on the user’s printer.
- The View PID Databank description module is available via the Parcel Information screen.
- Click the View PID Databank description button to open the PID Databank module.
- The PID Legal Description information is available for viewing.
- The Click HERE hyperlink is available to request the PID’s Official PID Databank report.
- Note: There is a fee for requesting an Official PID Databank report
- The PID Databank Official report displays the PID Databank information.
- The Official report delivery is via the user’s Email address specified on his PLANET account.
- The Land Gazette is a repository of permanent and temporary land related notices and associated information.
- Clicking the Land Gazette button displays general information on the selected parcel.
- If there are NO notices on a property, the screen displays No Records Returned.
- If there are notices on a property, the screen displays general information on each notice
- The PDF Report is system generated in PDF format and provides the details included in the Land Gazette information screen.
- Click Application for Additional Notice Information hyperlink and fill the form to request additional information from the Data Owner.
- The Data Owners (third party) manage their respective Land Gazette Notices.
- When a fee is associated with a data set information request, it displays on the Application for Additional Notice Information
Browser Overview
When applicable to the property selected, the Parcel description via PID Databank and the Land Gazette notices may also be available for viewing. These two functions direct the user to the proper modules where Reports may be requested.
Note: There is a fee for requesting an Official PID Databank report and Land Gazette Reports may also have charges associated. When this is the case a message informing the users appears on the screen.
Navigation
Navigation Bar  |
|
Navigation Pane Manipulation |
Tools

Whose Is It? |
|
Clear Selection |
|
Lasso Select |
|
Point Select |
|
Center Selection |
|
Find Neighbours |
|
Measurements |
|
Layers |
|
Basemaps |
|
Print Map |
Search Options
Quick Search |

|
Search by PID/PAN |
|
Search by Name/Location |
|
Search by Document |
|
Search by Plan |
|
Search by Assessment |
|
Search by Place Name |
|
Search by Coordinates |
Reports
PID Reports |
|
PAN Reports |
|
PID Databank Reports |
|
Land Gazette Reports |